Disclaimers
Foundation & Decision-Making in Mold Testing
Gravity Plates (Petri Dish Tests)
Surface Sampling (Swabs and Tape Lifts)
Air Sampling (Spore Trap Cassettes)
DNA-Based Dust Testing (ERMI, HERTSMI-2, Fungi 10)
Advanced and Specialized Testing (VOC, Mycotoxin, Endotoxin, Actinomycetes)
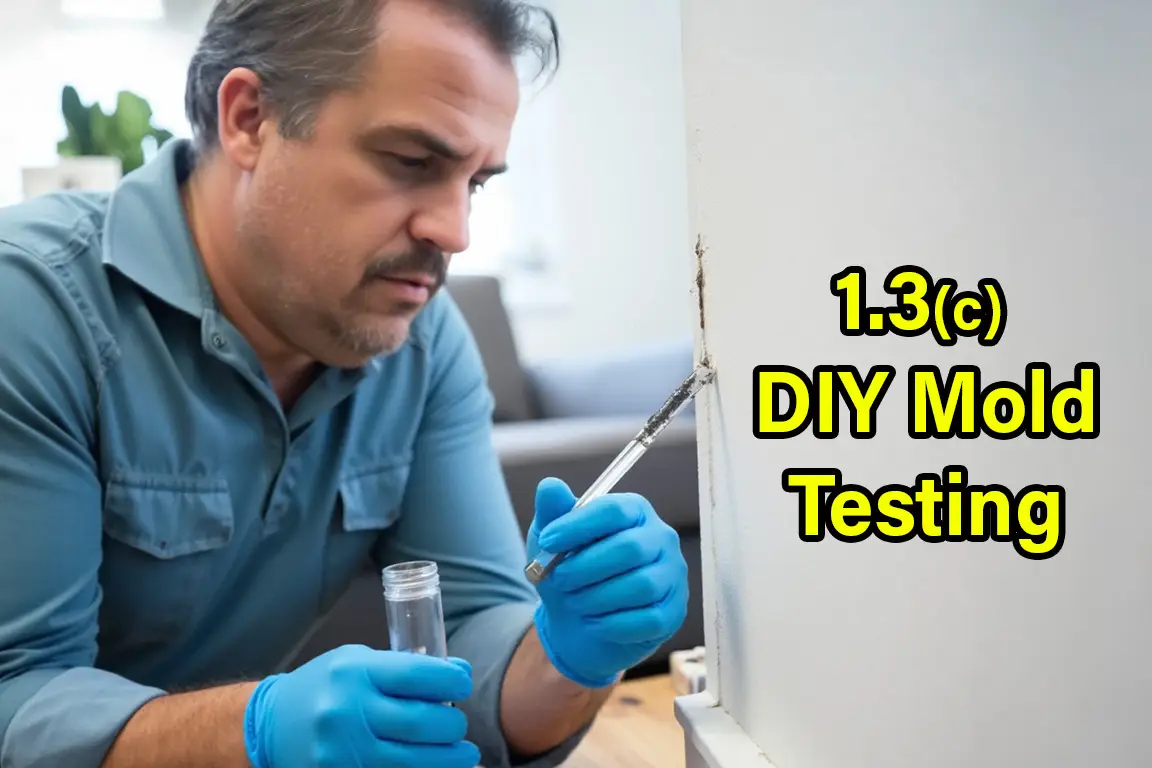
How to Perform a Surface Sample
There are two primary methods of surface testing: swab and tape lift. Both are easy to perform and can be done with inexpensive kits or lab-supplied materials.
Swab sampling is typically used on:
- Porous or uneven surfaces (grout, caulk, wood grain, fabrics).
- Areas where moisture may be trapped or absorbed.
- Surfaces with visible growth or staining.
To collect a swab sample:
- Use a sterile swab (typically provided by the lab).
- Rub the swab firmly over the discolored area in a crisscross motion.
- Place the swab in the provided tube or sterile bag, seal, and label it.
- Ship to the lab following their instructions.
Tape lift sampling works best on:
- Smooth, flat surfaces (glass, tile, painted drywall, sealed wood).
- Items with suspected surface dust or residue.
- Situations where you don’t want to damage the surface.
To collect a tape lift:
- Use clear adhesive tape (such as lab-supplied or clear packing tape).
- Press the sticky side onto the suspect area using firm, even pressure.
- Lift the tape straight off and stick it to a labeled microscope slide or plastic backing.
- Send it to the lab in a sealed container.
Make sure to include enough detail in your labeling to match the sample to the area it came from. Good recordkeeping makes interpretation much easier later on.